We previously posted about configuring AWS MediaConnect to quickly set up for a live contribution feed using our C-200 Low latency H-264 Encoder.
Among the other AWS Elemental Media Services is MediaLive, that allows you to build video channels in the AWS cloud. The channel can take HLS, RTMP or MediaConnect sources and deliver to CDNs or S3 storage in common OTT formats like HLS, MS Smooth, RTMP or UDP.
Here is how we used MediaLive to deliver a contibution feed via Mediaconnect, out to a CDN, ready for OTT distribution.
To keep the configuration simple, we stuck to the “single-pipeline” channel model. The default, and recommended approach is the “standard” model that instantiates two pipelines in AWS cloud for redundancy. This example uses the MediaConnect flow that was created as part of the previous posts.
Setting up the channel
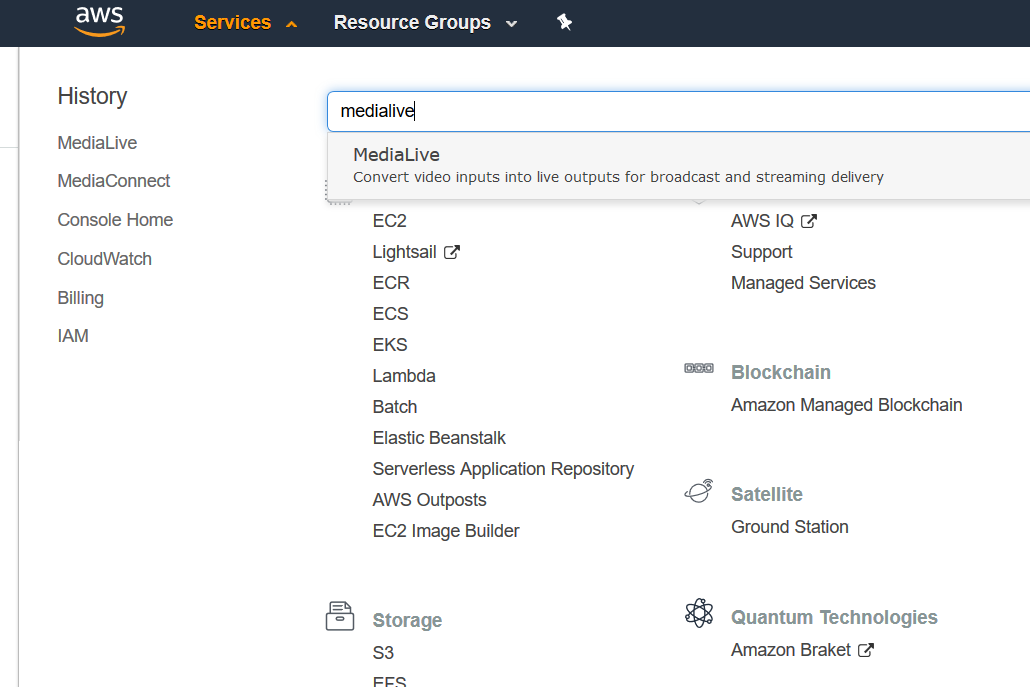
As a user with admin rights, search for “MediaLive” within the Management Console to enter the MediaLive area.
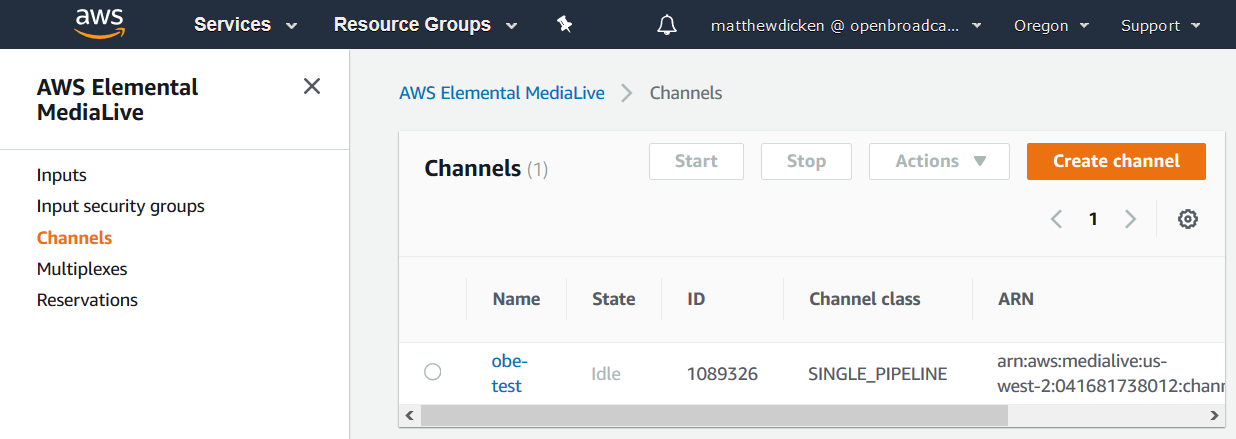
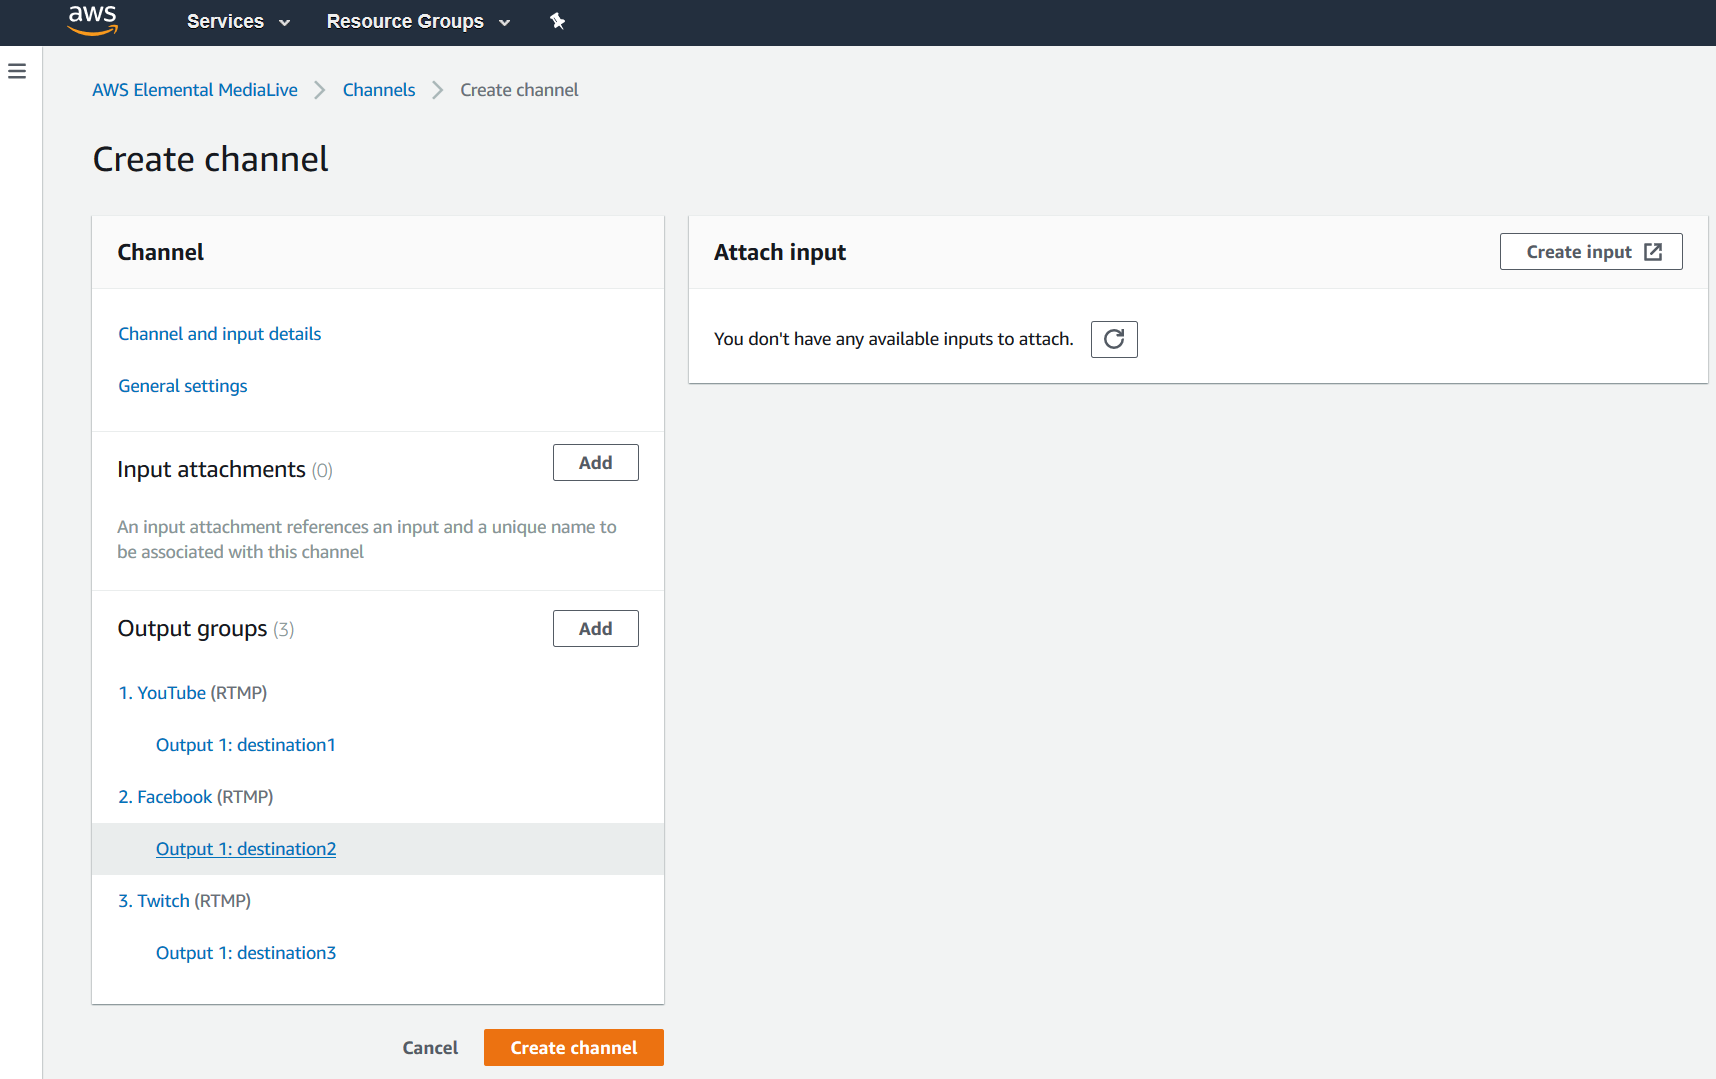
Go to “Channels” and then choose to “Create channel”
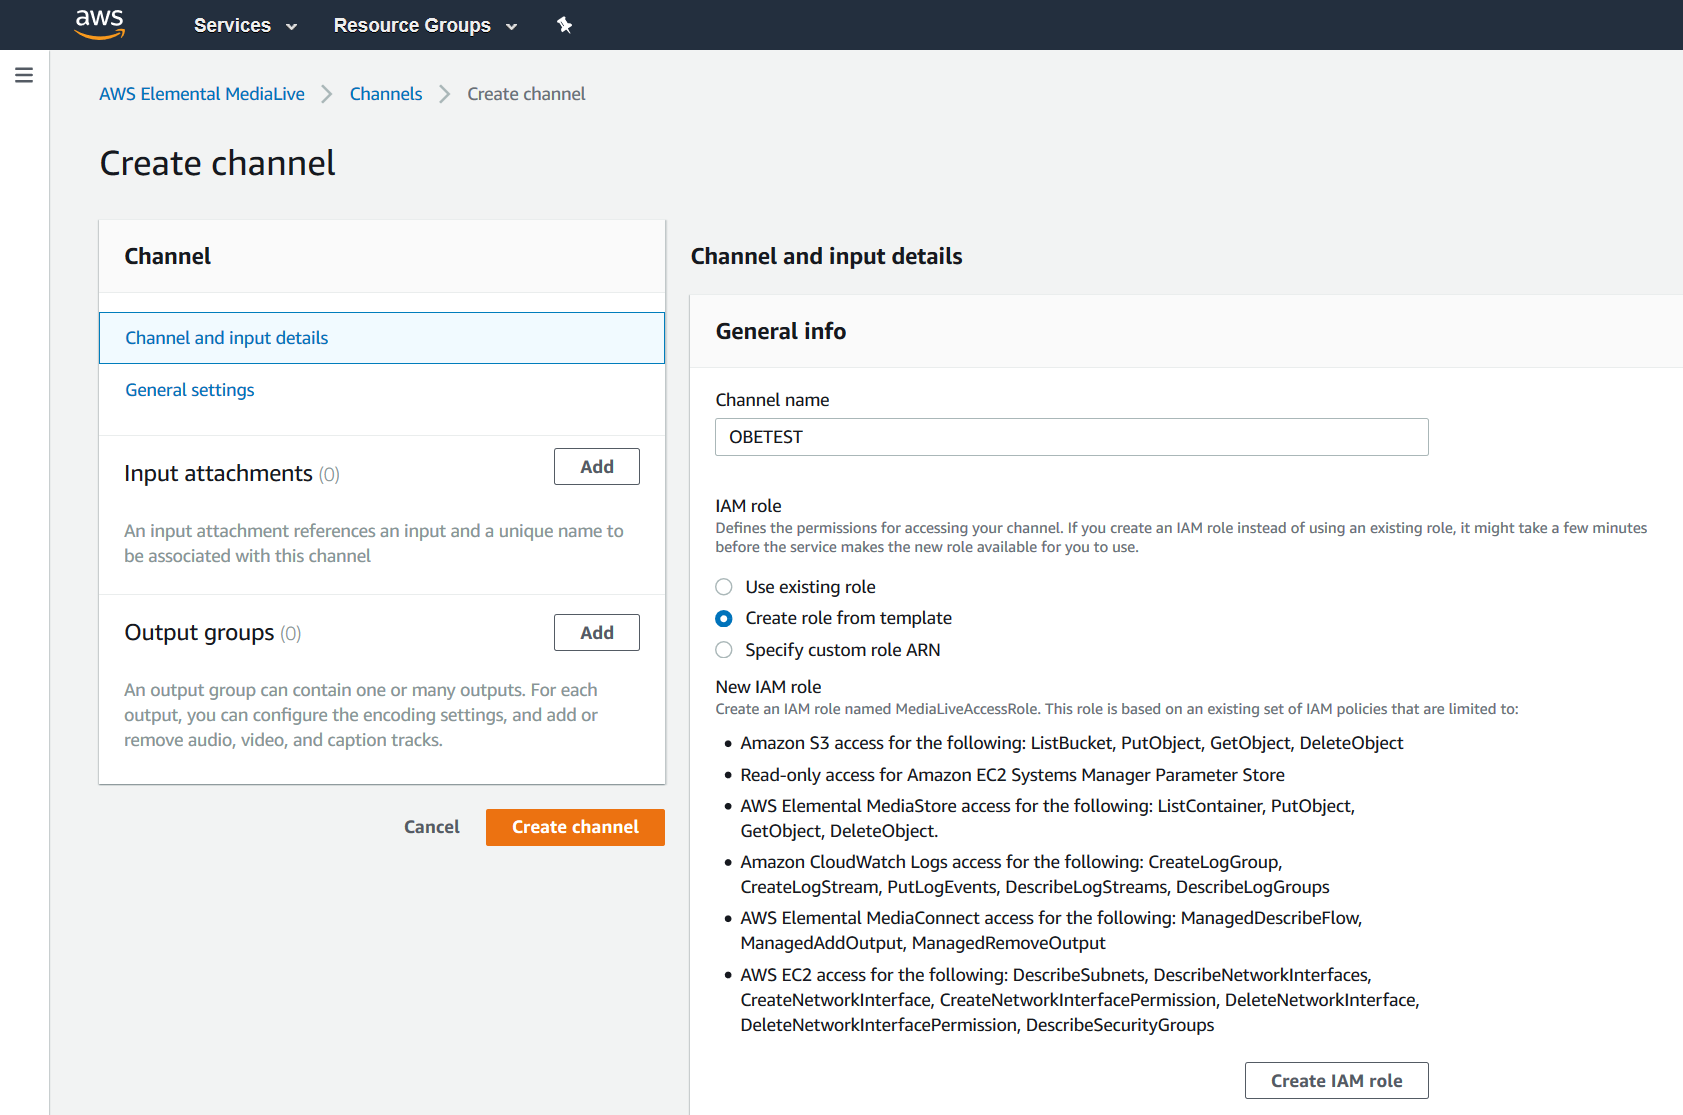
Name the channel. Upon first creating a channel, you can choose to “Create a role from template” that will define a user role with the default recommended access in order to work with MediaLive. Subsequent channels can use this role when selecting “Use existing role”.
On the left, you can also configure the channel’s “General settings”, including SCTE-35 options for regional accessibility, blackout slate, Nielson watermarking and Cloudwatch Logging.
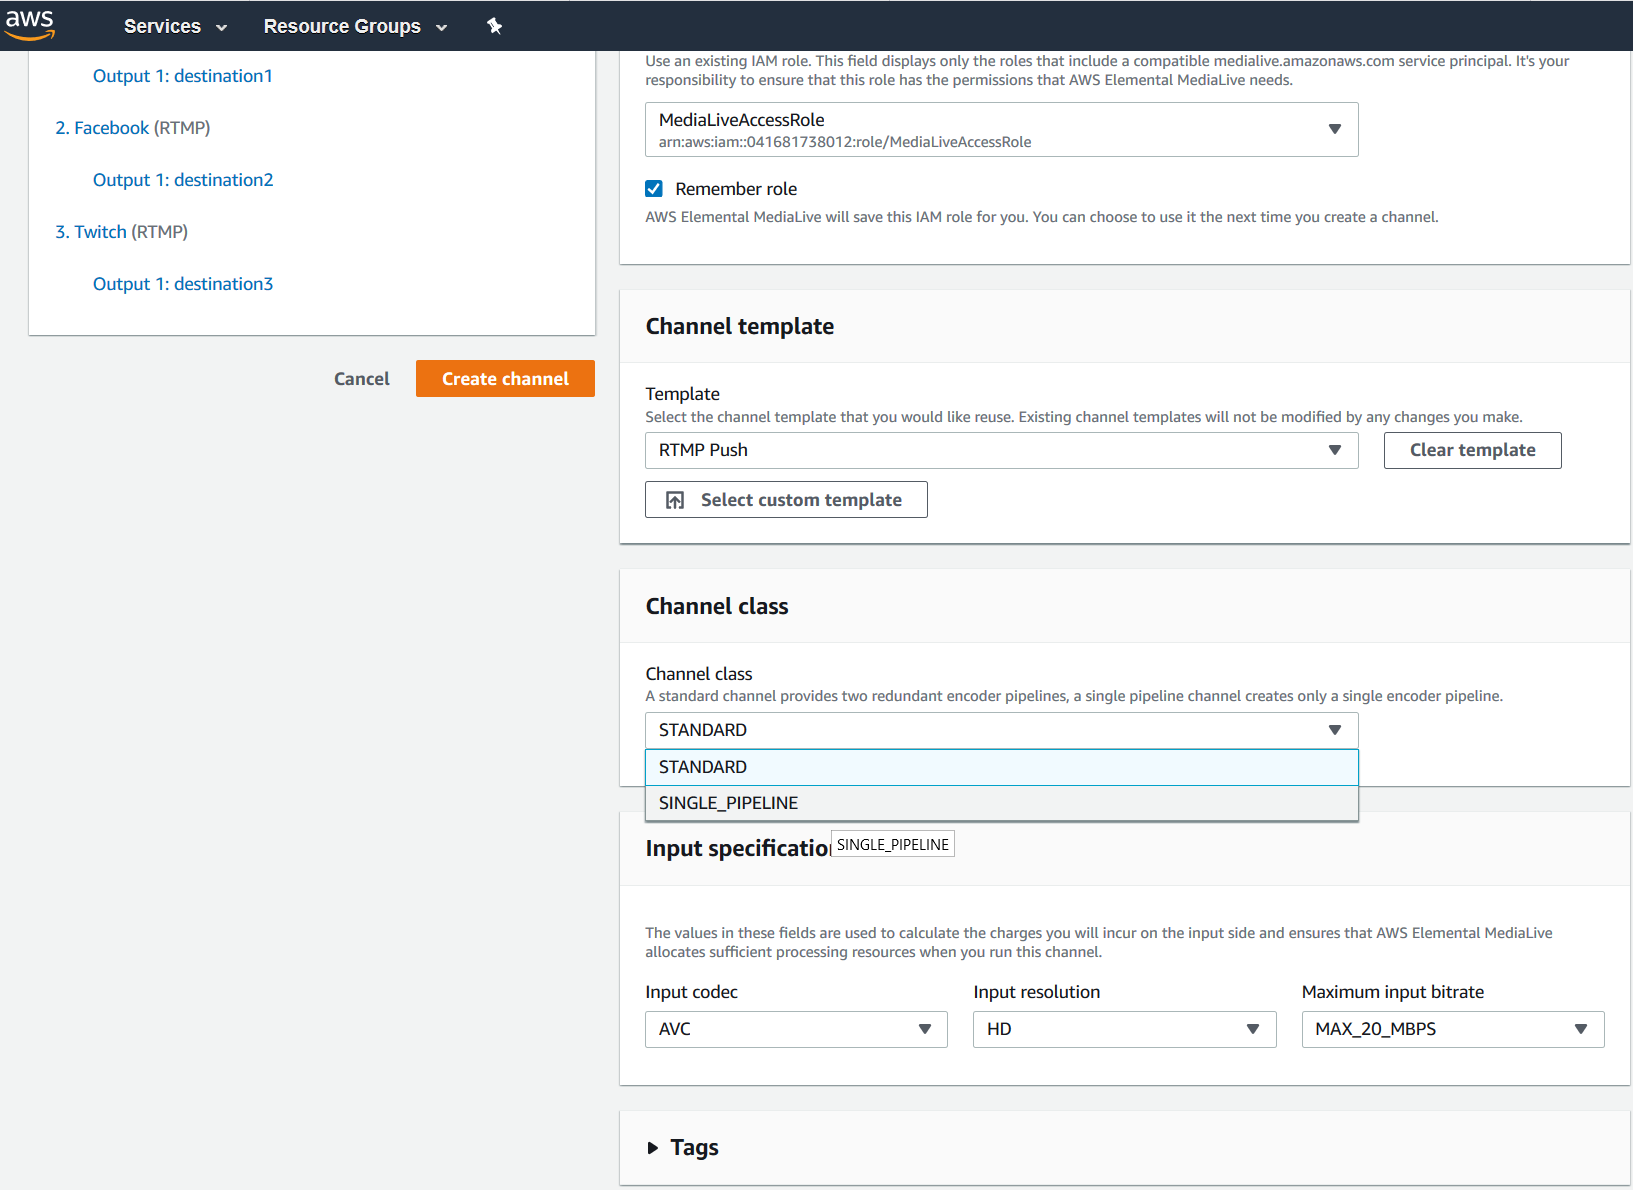
From the Channel Templates menu, select RTMP Push (this works for third party CDNs like YouTube). Other templates for HLS and AWS MediaPackage are available, with presets for output streams geared towards sports events and other content.
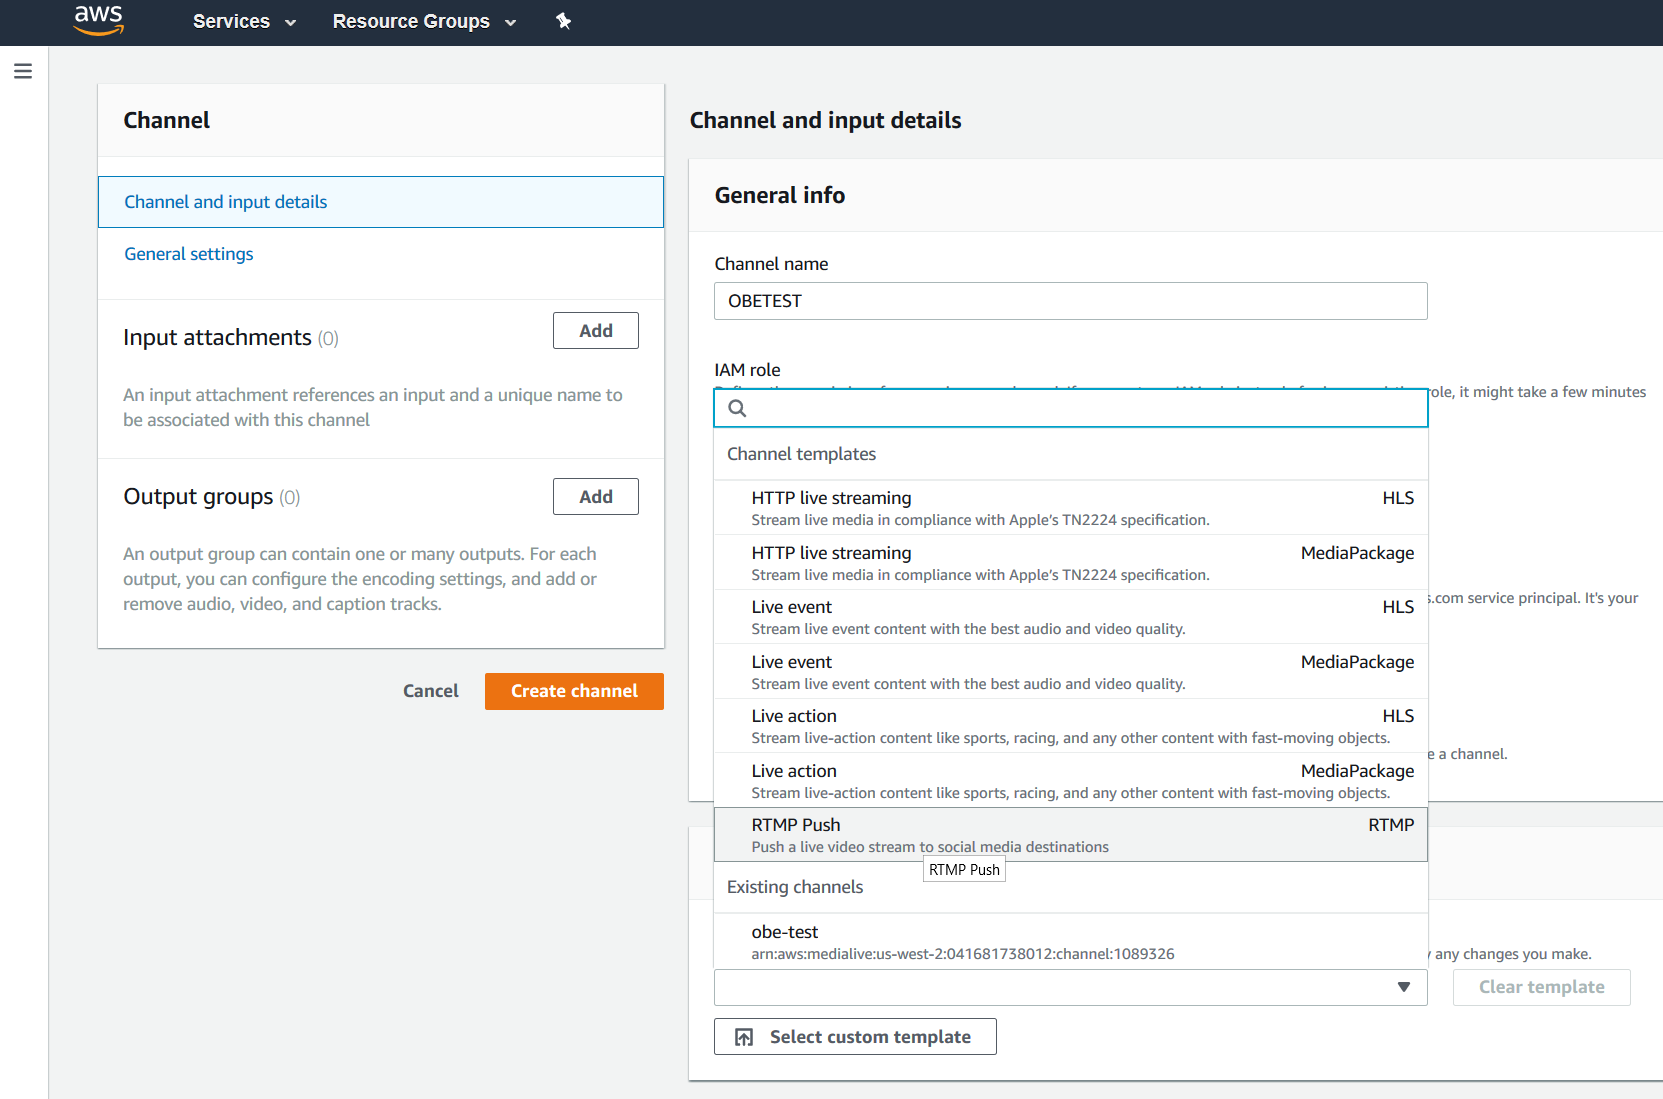
Select the SINGLE_PIPELINE channel class from the menu. This allows you to configure the channel using only one source (Standard class requires two distinct sources). Also provide the input Codec, reslutions and expected maximum input bit rate. This affects how AWS provisions resources for the channel, once activated.
Setting up the source
On the left, choose “Add” next to Input Attachments. From here you can allocate the required sources to the channel. If your source is not listed, choose “Create Input” to provide the details of the source content.
NOTE: AWS documentation advises that upstream systems are configured prior to starting the channel configuration within MediaLive. In our example we are using the MediaConnect flow created in our previous articles.
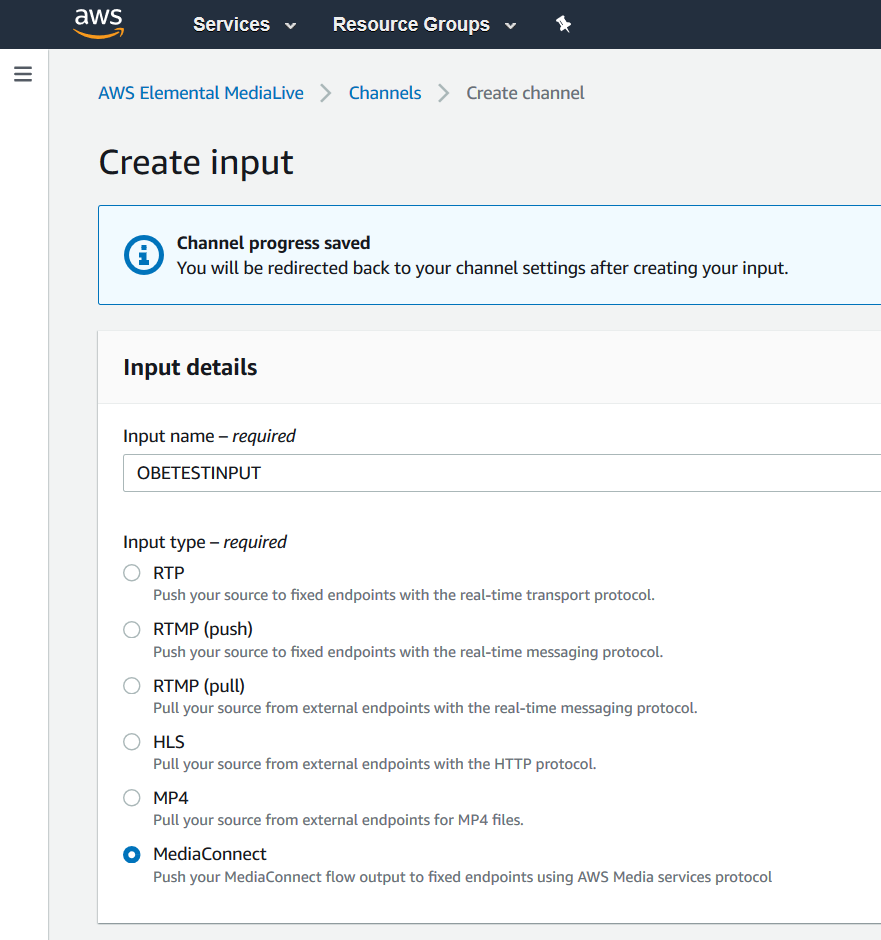
Provide an input name and select the relevant input type. Different modes require different pieces of information, so ensure that the upstream system is configured by this point in the process.
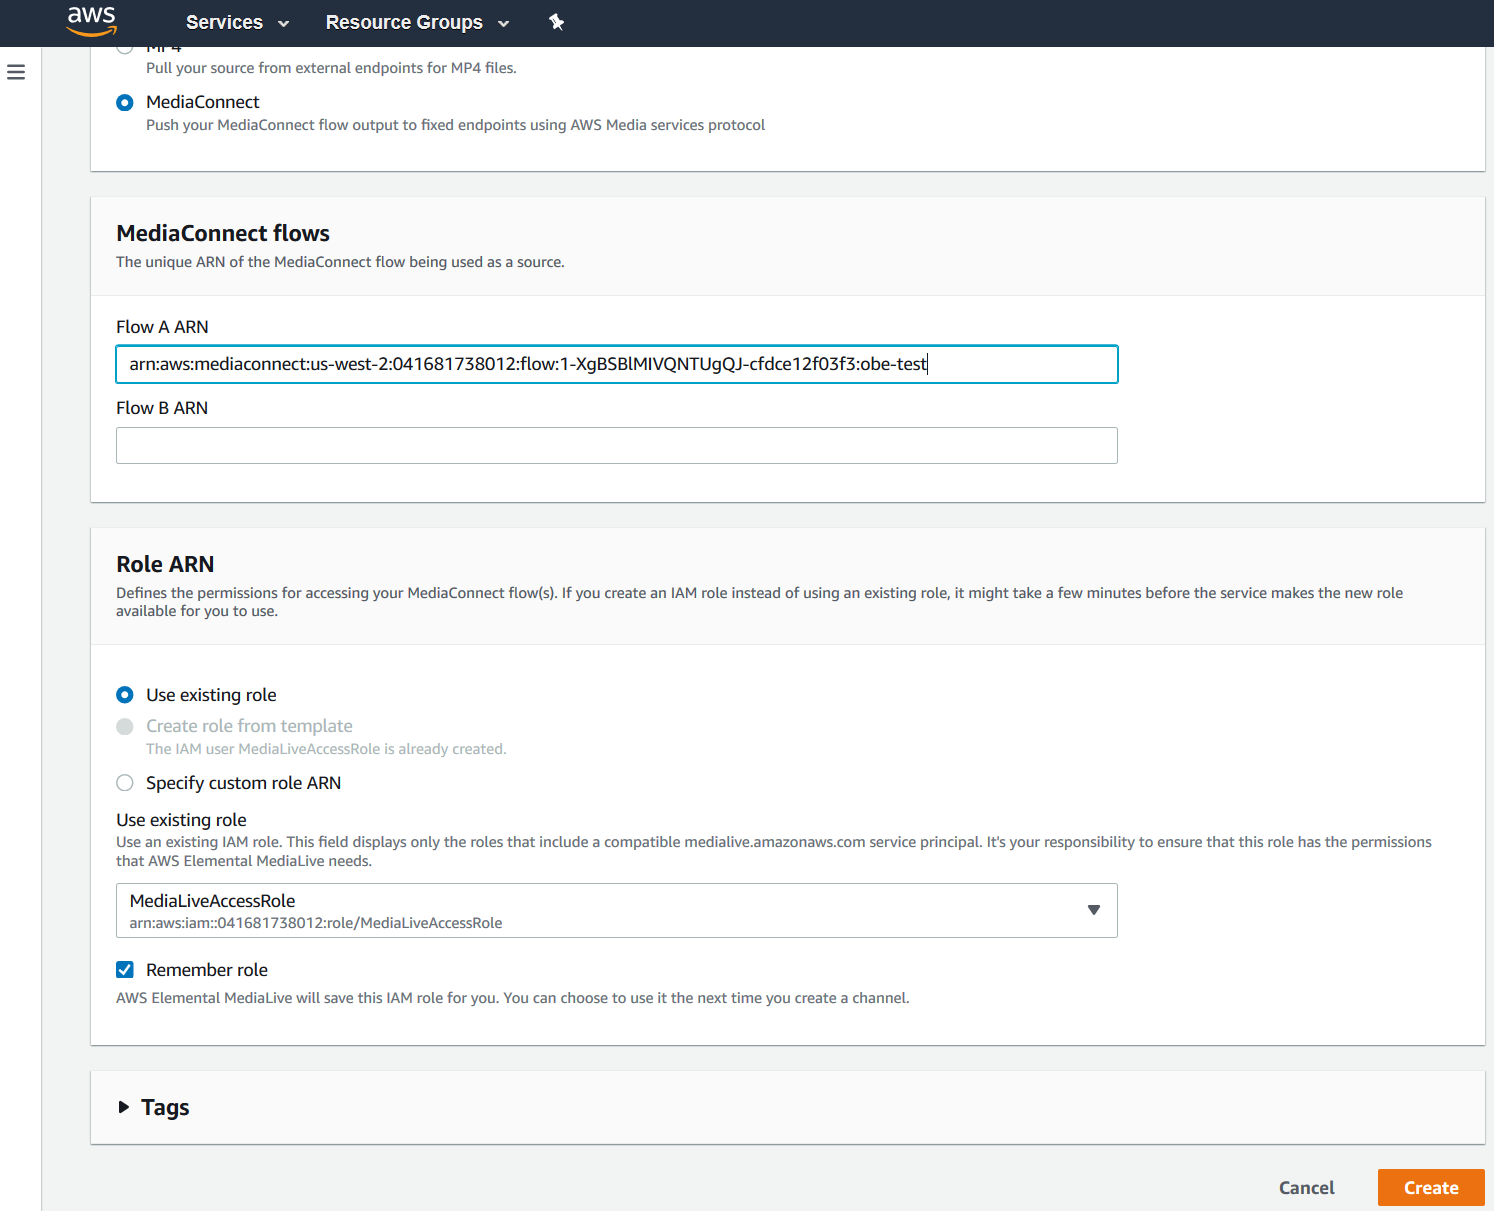
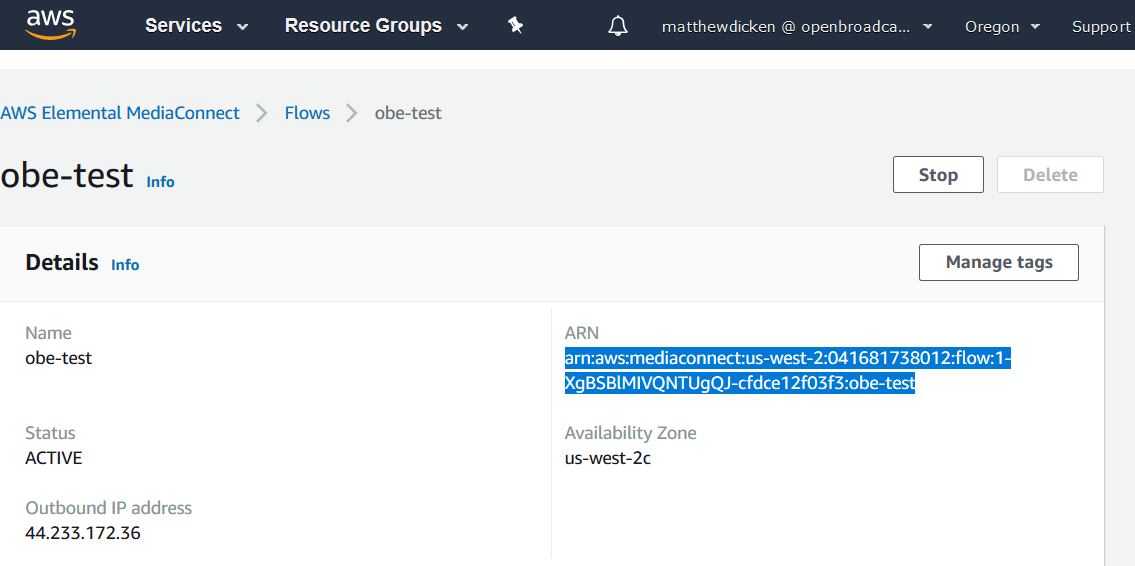
For MediaConnect sources, take the ARN value from the flow. Use the MedaLiveAccessRole created earlier to provide access to this source.
The source should now be listed in the channel inputs section. Provide a name and click “Confirm”.
There are a few settings that can be configured, including de-blocking and noise filtering, along with Video and audio stream selection. When enabled, streams and services can be filtered by language, program ID or transport stream PID.

Configuring the destination
Upon selecting the RTMP channel template, three destinations were created automatically (to YouTube, Facebook and Twitch). For this test, only YouTube was relevant. The other two can be selected and removed if not required.
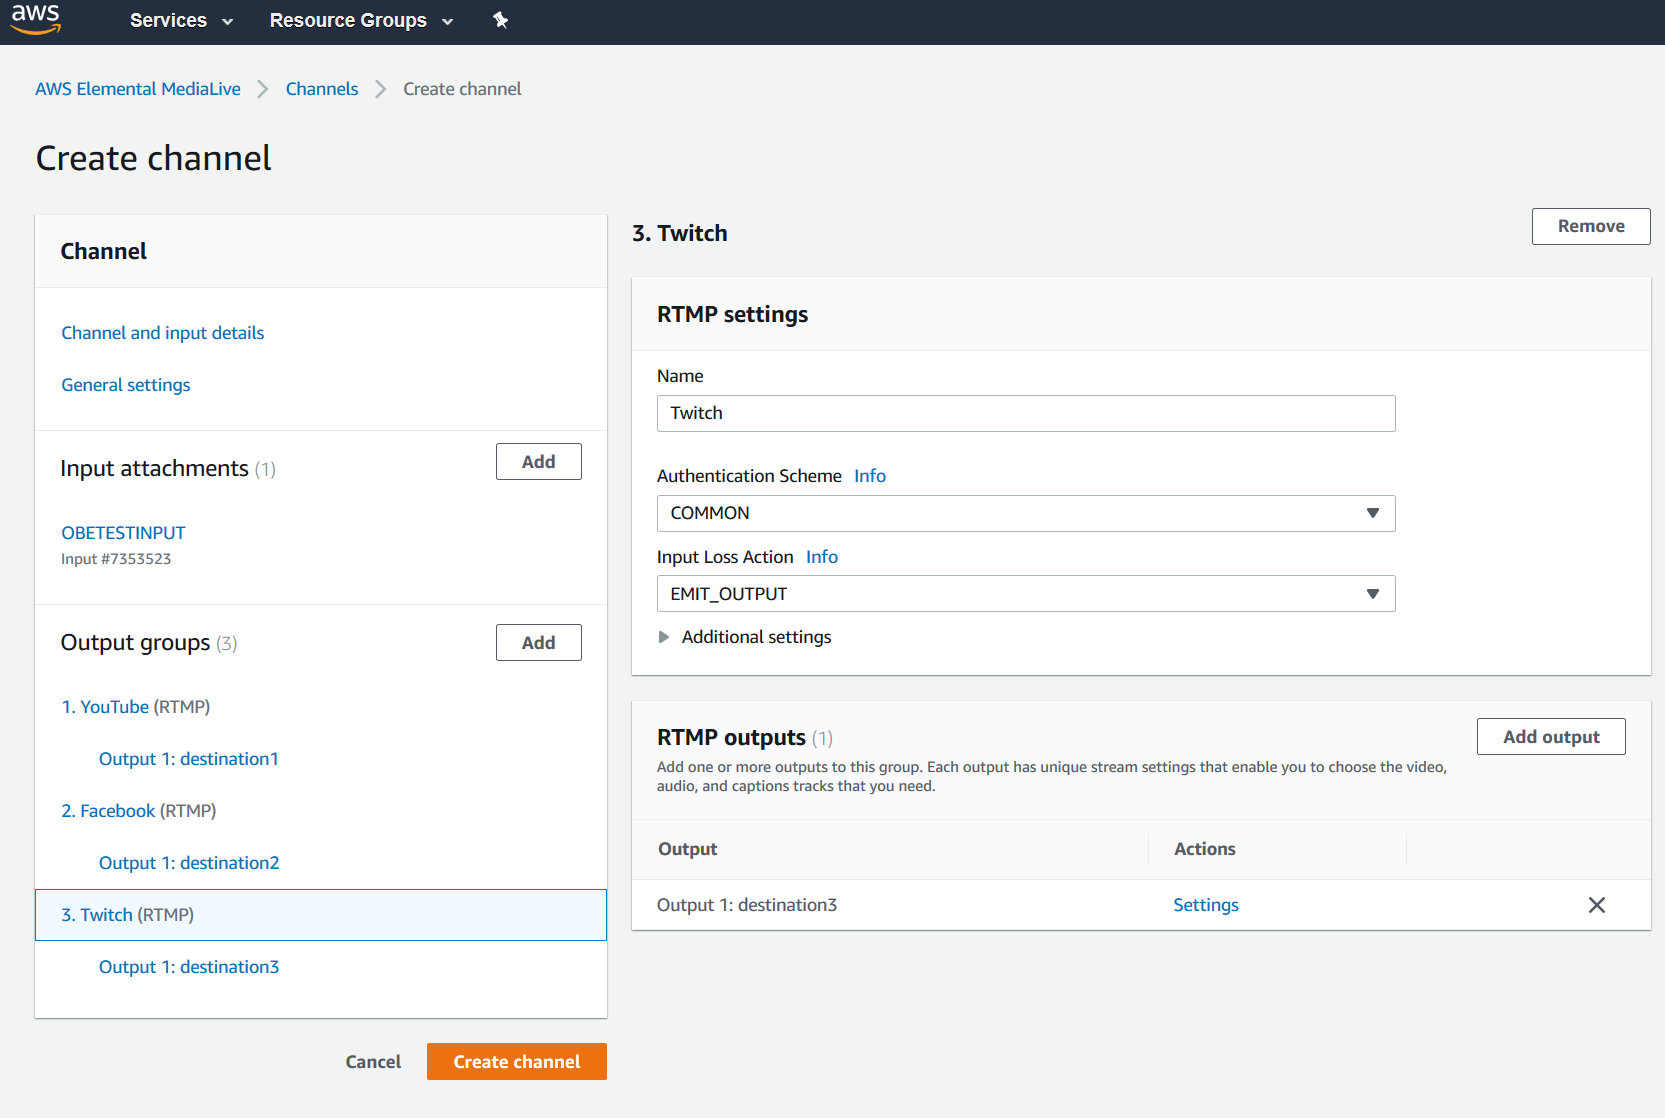
Within the Youtube output group, settings like cache length and connection loss behaviour can be assigned. Multiple destinations can be included within each output group. For example, one HLS output group may contain details for several HTTP streaming destinations.
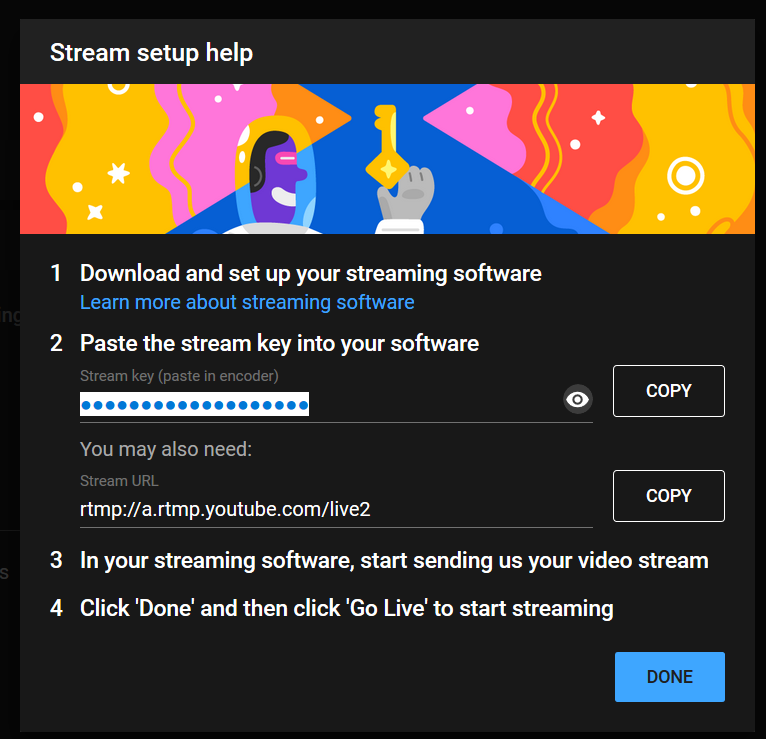
AWS recommends that downstream systems are configured prior to Channel configuration in MediaLive. With YouTube, simply log in to your account, click “Go Live” and create a new streaming event. In the Stream setup area, copy the “Stream Key”.
Paste the Stream Key into the “Stream Name” field in the output page (The stream URL for YouTube was automatically populated when the Channel was created).
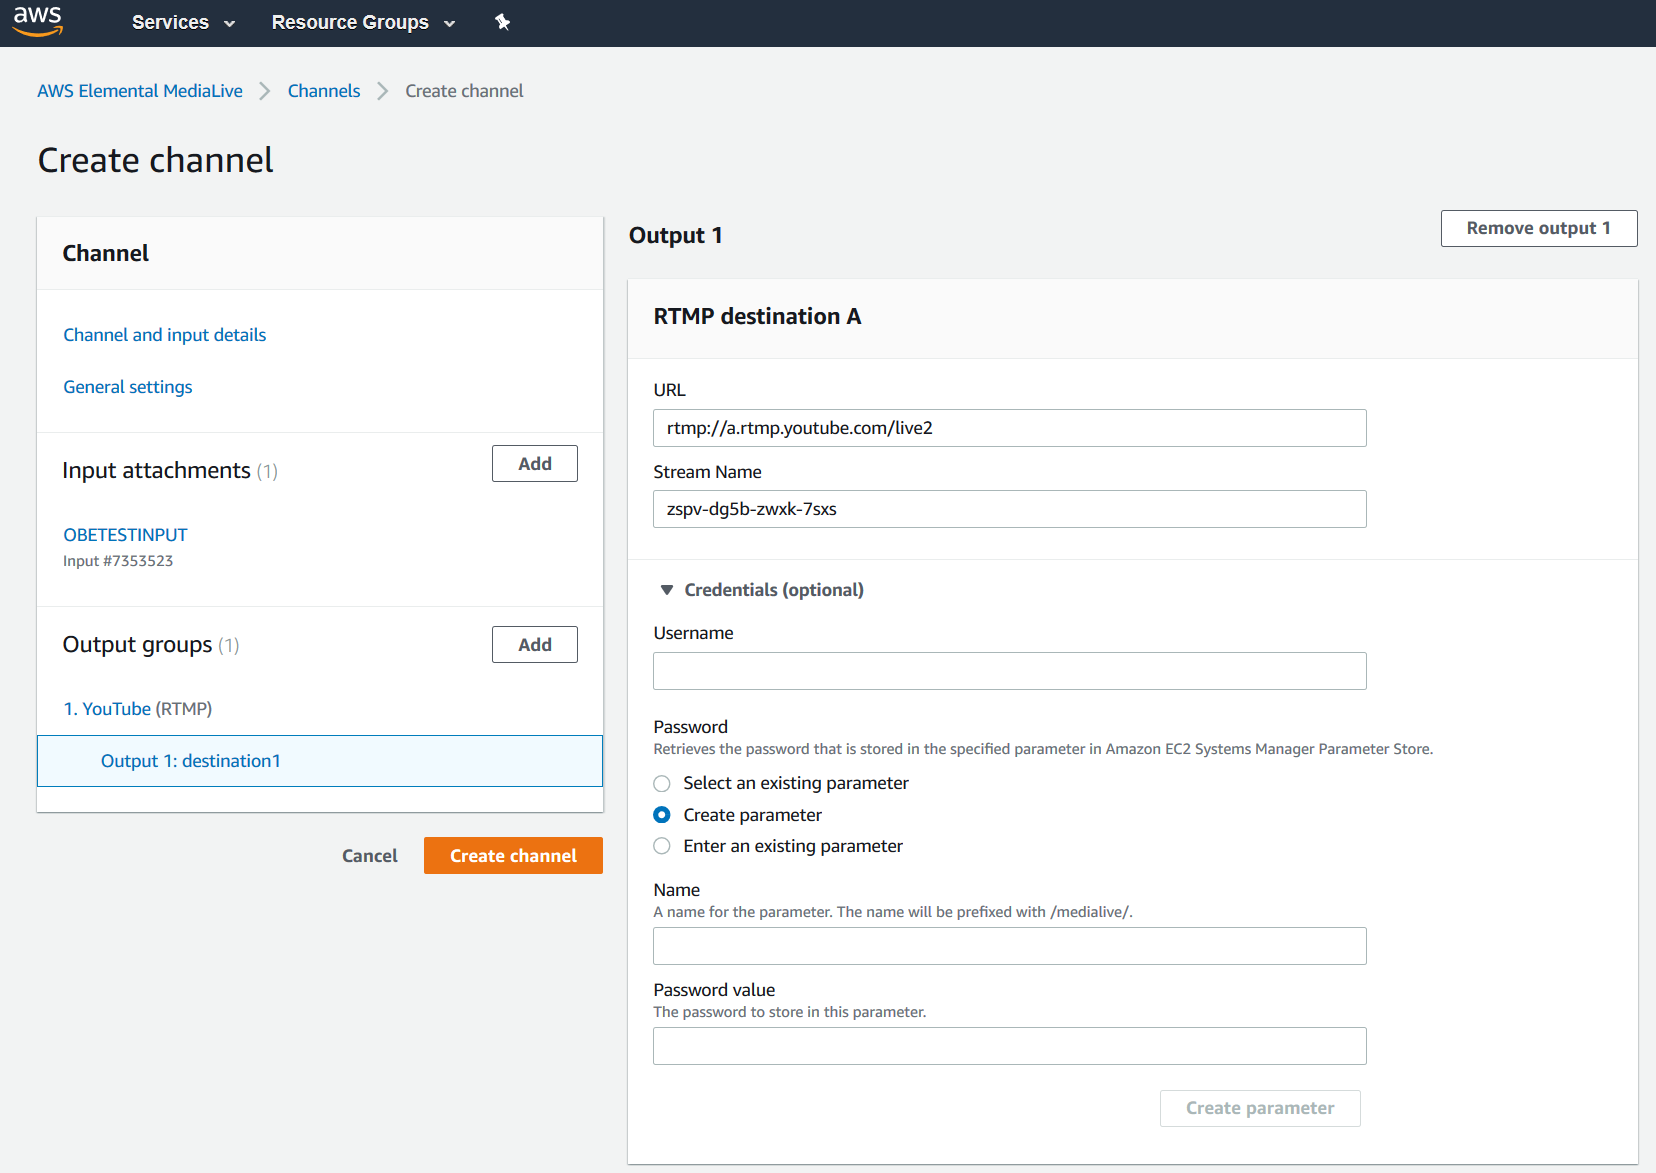
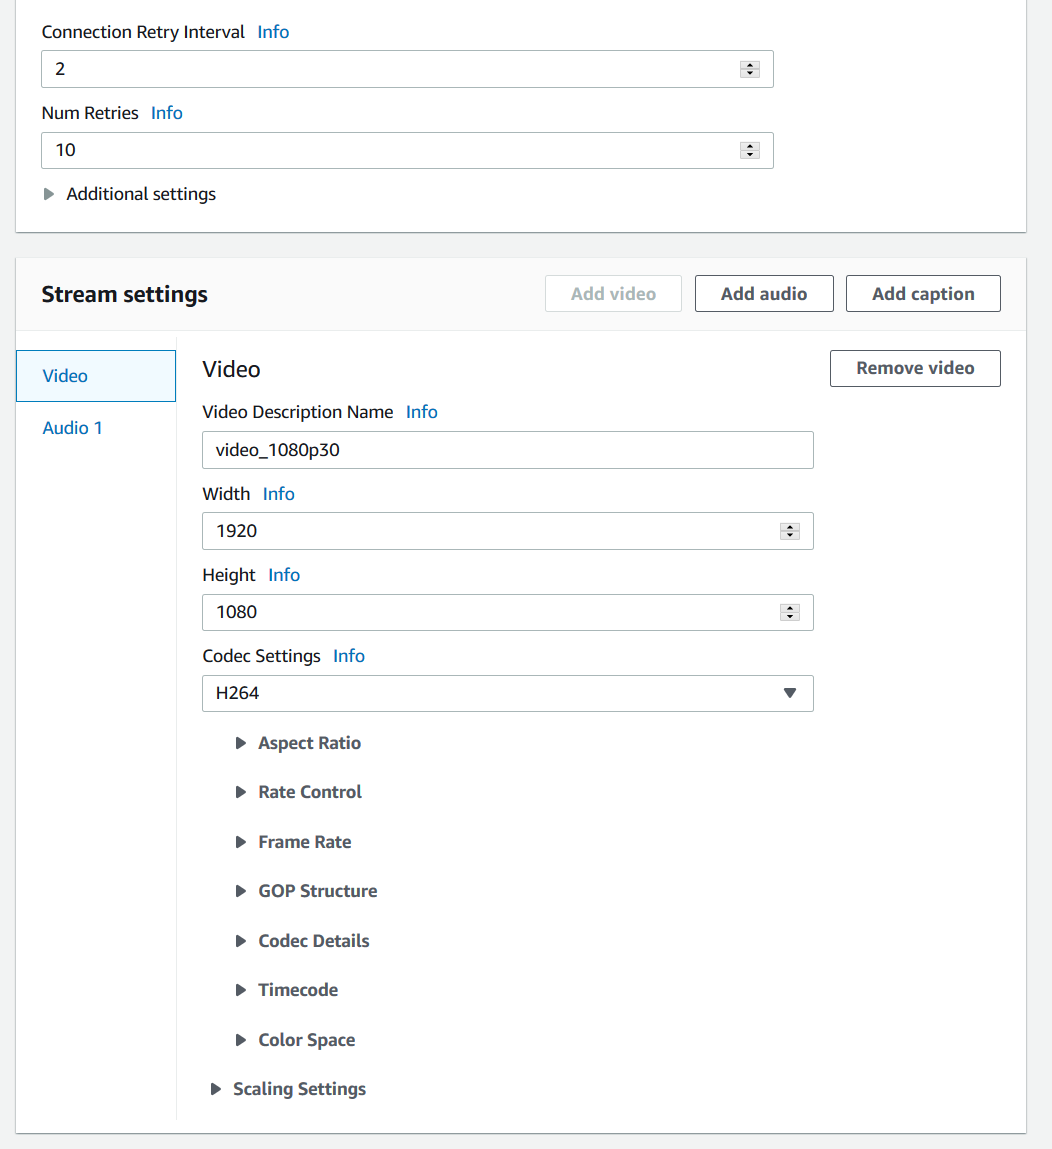
Also in this area are the output stream video and audio encode settings. Having created this channel using a template, many of these values were pre-populated. Multiple encode profiles can be created for use in ABR applications.
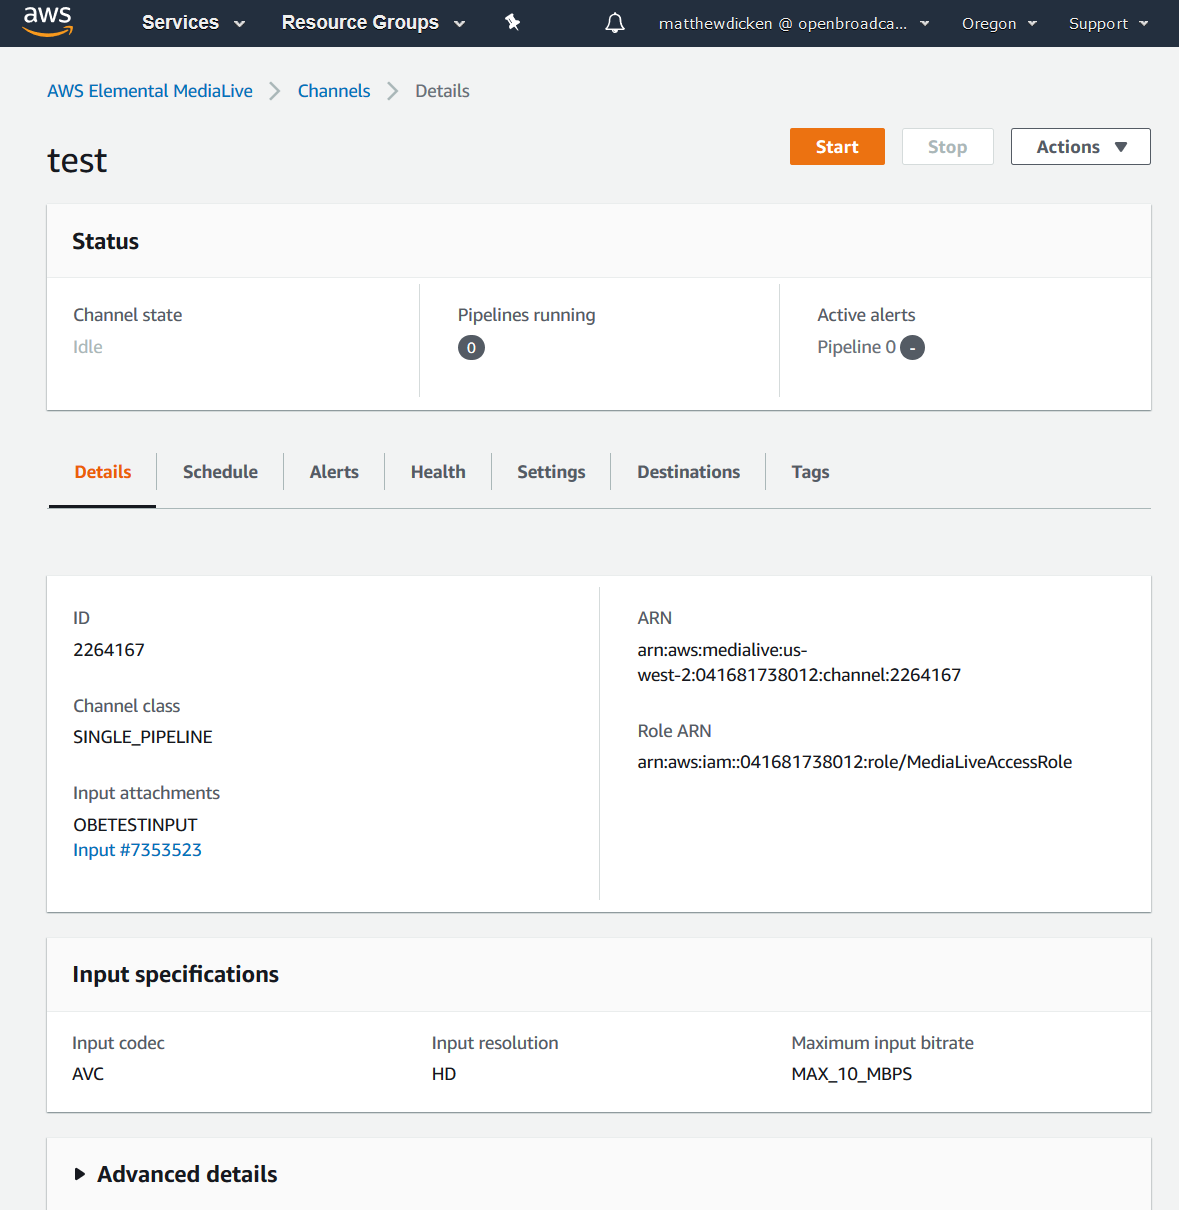
Once all input and output options are finalized choose “Create Channel” to build the channel in AWS. Then in the channel details page, choose “Start” to spin up all of the resources required to support the channel. This takes a minute or two.
NOTE: Unlike in MediaConnect, where a configured flow does not incur on-going charges while disabled, a stopped Channel in MediaLive may still incur costs due to provisioned resources. See AWS documentation for full details.
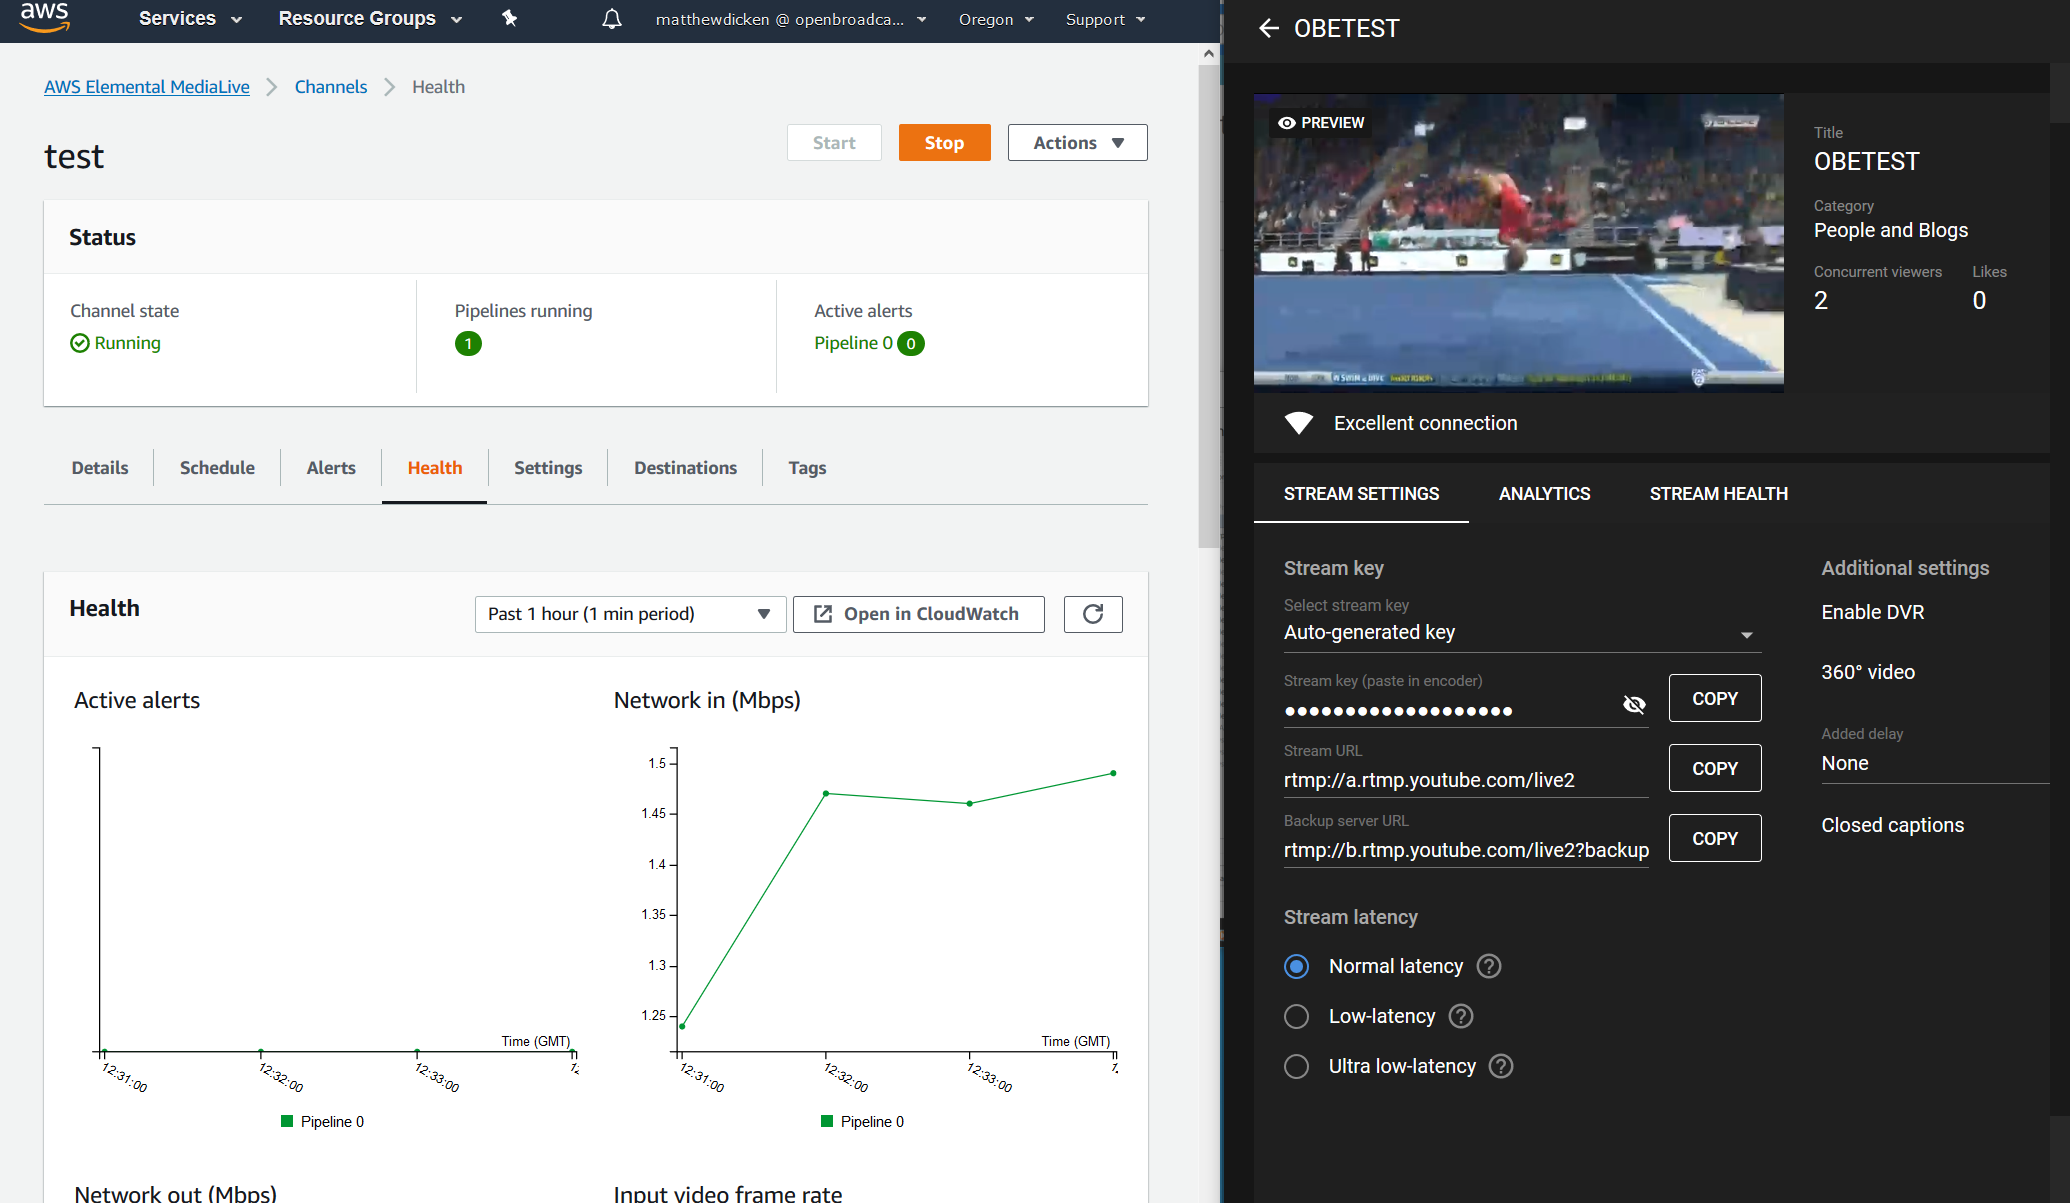
If the upstream system is providing a healthy feed, the channel should show a running pipeline (two if using te standard channel model), graphs of network traffic and incoming video statistics, along with active and previous alerts. Shown below are the AWS channel and YouTube stream side-by-side.
Summary
As well as being able to use MediaConnect to transport live contribution feeds straight into the public cloud, the same feed can be piped through to any number of OTT distribution platforms via AWS MediaLive. Similarly to the MediaConnect process, these channels can be configured quickly and cost-effectively, with no need to pay for idle infrastructure during times between broadcasts.